The Future of Security: Opportunities for Resellers Combining AI-Driven AV Systems and Network Protection
The Security Industry is Booming
One of the most exciting developments in recent years is the integration of artificial intelligence (AI) into security systems. AI not only enhances the capabilities of security solutions but also opens up new opportunities for resellers like you to offer cutting-edge products to your clients. Additionally, the integration of network security with AI-powered AV technology is becoming increasingly crucial in providing comprehensive protection.
To illustrate the potential for growth, check out these numbers. The security industry in North America is experiencing significant growth, with the market size projected to reach $167.12 billion by 2028, growing at a compound annual growth rate (CAGR) of 10.3% from 2021 to 2028. In comparison, the AV systems integration market in North is also expanding rapidly, expected to reach $8.5 billion by 2028, with a CAGR of 12.5% from 2021 to 2028.
The projected growth highlights the immense opportunities for resellers and integrators to capitalize on the increasing demand for advanced security solutions. Let’s explore four key AV product categories where AI integration is making a significant impact:
1. Advanced PTZ Cameras for Surveillance
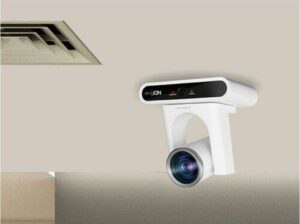 AI-powered surveillance cameras, such as PTZ (Pan-Tilt-Zoom) cameras, are revolutionizing the security landscape. These cameras use AI algorithms for advanced features like facial recognition, motion detection, and automated tracking. For instance, the Lumens VC-TR40N PTZ Camera offers AI-powered human face recognition
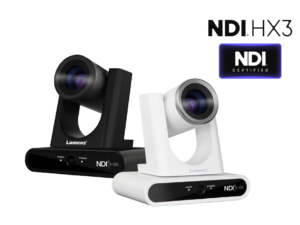 and gesture control, making it easier to track subjects during presentations or conferences. By offering these advanced cameras, you can provide your clients with enhanced security and monitoring capabilities, ensuring they stay ahead in the market.
2. Video Walls for 24/7 Monitoring
Monitors and video walls are essential components of any security system, providing real-time visual feedback and monitoring. AI integration in these displays can enhance their functionality by enabling features like intelligent video analytics and automated alerts. For example, AI-driven video walls can analyze video feeds in real-time, identifying potential security threats and alerting operators immediately.  This not only improves the efficiency of security operations but also reduces the workload on human operators. You can leverage these advanced displays to offer more comprehensive security solutions to your clients.
The Philips X-Line Videowall display is designed for 24/7 operation and can be customized to fit all your content needs. View content from multiple sources in real-time with enhanced picture quality.
3. Secure Networked AV
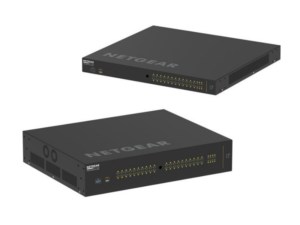 Networked AV solutions play a crucial role in managing multiple video feeds in a security system. The NETGEAR AV Line of M4250 managed network switches, including the GSM4212PX and GSM4248UX-100NAS, were built or the growing AV over IP market.
With AI integration, networked systems can now offer smarter routing and management of video signals. AI-powered networked AV solutions can automatically prioritize video feeds based on the level of detected activity, ensuring that critical events are always in focus. This intelligent management of video feeds enhances the overall effectiveness of security systems. By incorporating AI-enabled networked AV solutions into your offerings, you can provide more efficient and responsive security solutions.
4. Connectors and AV Furniture
![]() Connectors might seem like a small part of the puzzle, but they are vital for ensuring seamless integration and communication between different components of a security system. By integrating high speed cables, like the C2G Performance Series, in this solution, you can create a robust and efficient security workflow. These cables ensure high-quality video and audio transmission, making them ideal for high-resolution surveillance and monitoring applications. This setup not only enhances security monitoring but also provides flexibility and scalability for future expansions.
Connectors might seem like a small part of the puzzle, but they are vital for ensuring seamless integration and communication between different components of a security system. By integrating high speed cables, like the C2G Performance Series, in this solution, you can create a robust and efficient security workflow. These cables ensure high-quality video and audio transmission, making them ideal for high-resolution surveillance and monitoring applications. This setup not only enhances security monitoring but also provides flexibility and scalability for future expansions.
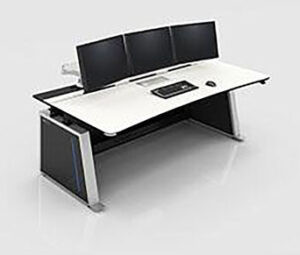 Additionally, incorporating AV furniture like the Middle Atlantic Visionline 24/7 Desk Consoles can significantly improve the functionality and ergonomics of your security operations. These consoles are designed for continuous use in mission-critical control rooms, offering robust cable management, integration for active equipment, and class-leading industrial design.
Conclusion
AI integration in security systems is not just a trend; it’s a game-changer for the Pro AV industry. By offering AI-powered surveillance cameras, intelligent monitors and video walls, smart networked AV solutions, and advanced connectors, you can provide your clients with state-of-the-art security solutions. These innovations not only enhance security but also open up new business opportunities. Stay ahead of the competition by embracing AI in your product offerings and delivering unparalleled value to your clients.
For more information, a quote, or consultation on AI-integrated security products, visit Exertis Almo.

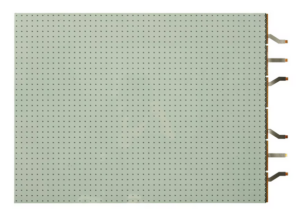 At its core, LG’s Transparent LED is a cutting-edge display technology that uses micro thin nano wires laminated between transparent silicon-based film, allowing light to pass through. This enables the display to offer high-quality visuals without completely obstructing the view behind it. The current
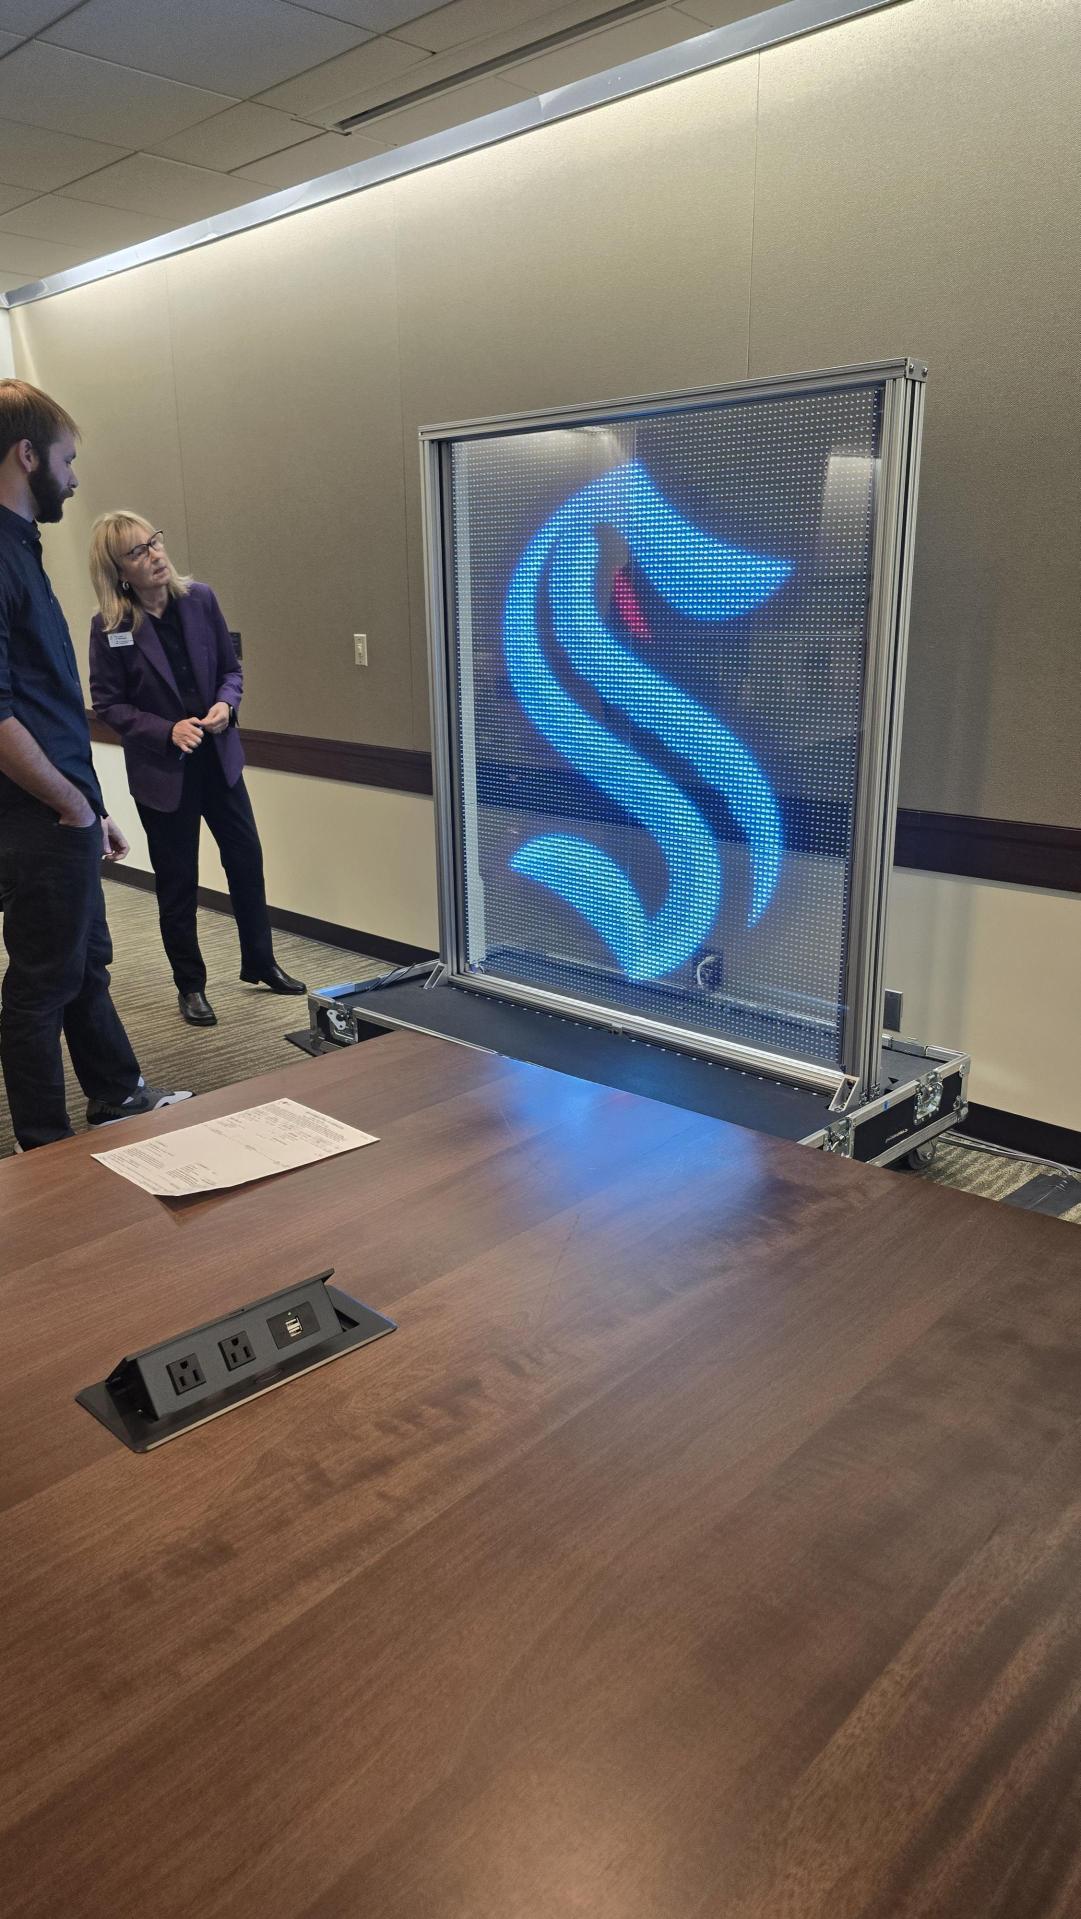


 All-in-one DVLED displays are a great option as they do not require external LED controllers/sender units to operate since all the required components are built into the unit, so it functions like a standard monitor, and there are typically several predefined sizes to work in various environments. The other option for DVLED is a custom video wall solution. Custom DVLED walls are a good option when you have an application requiring a specific size display, atypical aspect ratio, or need specific resolutions or brightness levels. Custom DVLED allows the user the broadest choice in selecting products to meet the needs of their individual application, but generally requires a more complex installation using external LED controllers/sender units.
 In this example, after talking with the client, it was determined that the better way to achieve their goals was to use LCD technology due to one primary factor, resolution. The client stated that they wanted to have multiple unique images on the display simultaneously, up to 9 different sporting events or advertisements on the wall at any given time. While it is possible to show the required number of images on the DVLED display using external video processing, the resolution of each image would end up being very low using the DVLED display discussed.


 Crystal-Clear Communication
 Who said training has to be boring? With the latest interactive displays, training sessions become an immersive experience that gets everyone pumped. Picture this: government employees in front of massive touchscreens, collaborating on real-time scenarios, and solving problems together like a band jamming out a new hit.
  Now, let’s crank it up a notch for our audience with hearing impairments. Assisted listening devices (ALDs) are like the VIP passes that make sure everyone gets front-row sound, no matter where they’re seated. One of the rockstars in this space is Listen Technologies with their Listen EVERYWHERE system. This cutting-edge solution streams audio directly to users’ smartphones, letting them tap into the sound with their own headphones or hearing aids. Whether it’s hearing loops that sync up with hearing aids or infrared systems that cut through the noise, these bad boys plug right into the AV setup, delivering crystal-clear audio straight to those who need it most.



 I remember working in the garage as a kid with my dad, and it seemed like 80% of the time we were cleaning up and 20% of the time we were actually working on a project. He would always say, “a clean workspace is a safe workspace!”
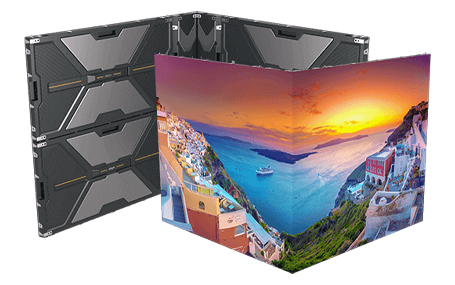
 For dvLED displays, the site prep requirements are pretty rigid, and for good reason. I’m going to discuss a few universal requirements that you will run into on almost every dvLED project.