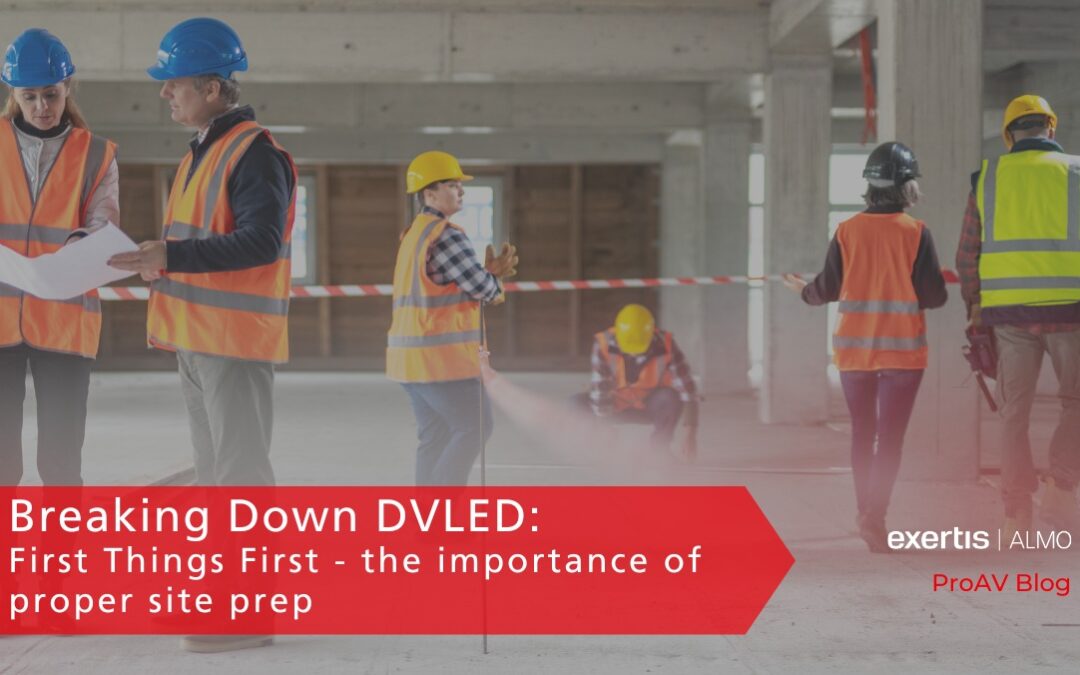
Part 5: First Things First
Topic: The importance of proper site prep.
 I remember working in the garage as a kid with my dad, and it seemed like 80% of the time we were cleaning up and 20% of the time we were actually working on a project. He would always say, “a clean workspace is a safe workspace!”
I didn’t really appreciate that wisdom then, but I do now.
Whether you are hanging and banging a 50-inch LCD display in a conference room or installing and commissioning a 220-inch LED video wall in an auditorium, the same wisdom applies in terms of making sure the site is ready, all the tools for the job are on hand, and the project punch list is ready to execute.
 For dvLED displays, the site prep requirements are pretty rigid, and for good reason. I’m going to discuss a few universal requirements that you will run into on almost every dvLED project.
To begin, often times a tech will be scheduled to come onsite to assist with or even perform the installation. They are typically slated to be onsite for a limited window of time. It is the integrators responsibility to ensure that everything is ready for them to jump in and start working when they arrive to the site. Delays could be cause for extending the time required for the tech to be onsite. This usually leads to change orders. And we all know how much our customers dislike those!
Another important site requirement spec that you will undoubtedly run into are power and data requirements. Big walls require more power, and as such, this requires more outlets. AV integrators aren’t electricians, so it’s critical to have the proper spec requirements in advance to provide to the end user. Fortunately, many vendors, such as Absen and others, provide this information via written specs and technical drawings.


One of the most important considerations when installing a dvLED video wall is the actual wall surface that it is mounting to. Since dvLED walls are made up of multiple cabinets and modules and are, by nature, designed to be seamless, it is very important to ensure that there are no seams! This is why you will often see requirements for cabinet or marine grade plywood backing. At minimum, BC Sanded One-Side will be required to ensure that the X-axis is completely flat and true. Considering the cost of the video wall, the extra investment in some plywood is a small price to pay to ensure the wall is perfect.
Finally, you need a plan to dispose of all the waste that is left behind. A typical video wall might ship in four or five large wooden crates, with dozens of large cartons and packages enclosed. This can result in a literal mountain of trash. Have a plan to remove this from this site as you go. A cluttered work area is a hazardous work. So as a wise man once said, “a clean workspace is a safe workspace.” Thanks dad…

This concludes my five-part series on Breaking Down DVLED. I hope you have found these articles useful, and I encourage you all to reach out to me directly if you have dvLED projects on the horizon that I can assist you with.
Check out my other installments if you haven’t already:
Part 1: Got Spares?
Topic: The importance of having spares when purchasing / commissioning a DVLED video wall.
Part 2: Cabinets and Modules and Panels, Oh My!!!
Topic: The anatomy of a DVLED video wall.
Part 3: Perfect Pitch
Topic: The importance of selecting the right pixel pitch the first time
Part 4: The First Step in Installing a DVLED Video Wall is Admitting You Need Help
Topic: Commissioning Assistance and Why it’s Important.

About the Author
Tom Keefe | CTS, DMC-D-4K, DSCE
Business Development Manager – Brand Specialist
Supported Manufacturers: Absen