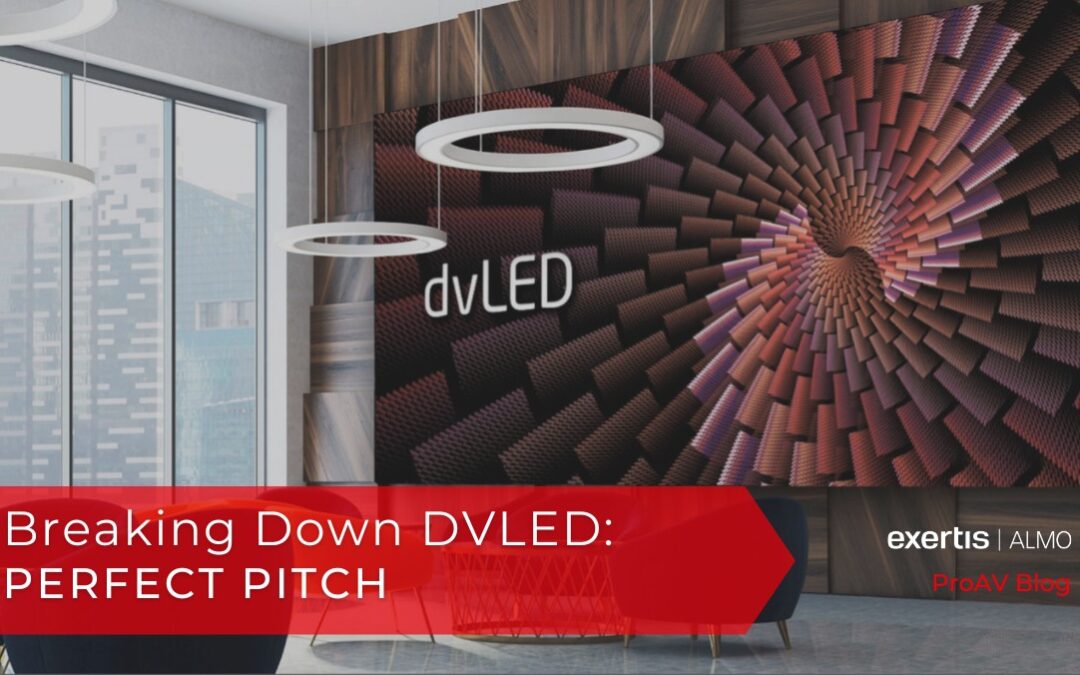
Part 3: Perfect Pitch
Topic: The importance of selecting the right pixel pitch the first time.
During my college years, I worked on a deck building crew during the summers. My boss was a battle-hardened old carpenter who often muttered, “Measure twice and cut once. We didn’t bring the board stretcher today.” This adage is as true in commissioning AV systems as it is in carpentry.
Let’s be honest, Indoor DVLED walls are expensive. And they should be!!! The visual experience is second to none, and it’s not close. Companies are concerned with getting their brand image and messaging across clearly and impactfully, and DVLED walls deliver. Assuming, of course, that the right product is selected.
If a client is dropping six figures on a DVLED display, it is critical that the integrator gets it right the first time. Putting up video walls is labor intensive enough. The notion of ever having to take a wall down because the customer was dissatisfied with the end result would be disastrous. And really, when it comes to DVLED, the only conceivable reason a client would be disappointed would be due to selecting a pixel pitch that was too large for the application.

In the world of LCD displays or modern-day TV’s, most end users are primarily concerned with size and resolution. For example, a high definition (1080p) image will look the same—relatively speaking—regardless of image size, on a conventional LCD display from any reasonable viewing distance. The pixel density is so…um…dense…that any perceived “pixelization” will be negligible to the average human eye.
My friends, this is not so with DVLED. If you remember from my previous blog, Cabinets and Modules and Panels, Oh My, I described how DVLED pixels can be thought of as a grid of dots that make up an image. Think, Paint by Numbers. The more dots you jam into the same relative space, the clearer the image. Additionally, the closer you are to the display, the easier it will be to see the grid-lines. So, this would lead to reason that in order to produce a good DVLED image, you need the right amount of dots, in the right amount of physical space, that are viewed from the right distance.
Thus, I present to you the most important spec of all, when selecting a DVLED wall, the Pixel Pitch. Expressed in numerical values such as 0.7, 0.9, 1.2, 1.5, 1.9. 2.5, 3.7, 4.0 and so on, the pixel pitch indicates the center-to-center distance in millimeters of one pixel to the next. The smaller the number, the closer together the pixels are.
Now, I know we all love using handy math equations and standards in the AV industry, but unfortunately, selecting the right pixel pitch is a bit of an art. The most popular and generally accepted “standard” that is thrown around is Distance / 10. This means that to select the right pixel pitch, you need to take the distance in feet of the closest viewer and divide by 10. The quotient (aka. answer), should get you in the neighborhood of what an appropriate pixel pitch selection would be. For example, if the closest viewer is 10ft away from the display then the appropriate pixel pitch would be 1.0. Similarly, if the closest viewer was 25ft away the best pixel pitch would be 2.5.

Beyond this simple calculation, we need to go a little bit further and consider other factors like intended use, the type of content and the specific needs of the audience or viewer. In cases like retail or entertainment, where full motion video and large print will be the primary content and the average viewing distance and viewing range are very wide, pixelization is probably less of an issue. In an executive board room of a financial firm that will be using the wall to display smaller text, numbers and data or in critical medical imaging scenarios, it would be wise to opt for a pixel pitch that is perhaps a little smaller than the standard quotient.
Finally, let’s talk about cost. The smaller or “finer” the pixel pitch, the higher the cost. This means that a 220-inch video wall with a 2.5 pixel pitch could very easily end up costing more than twice that of a 3.7 pixel pitch of the same size. Similarly, depending on the type and quality of LED’s being used, a P1.0 could easily be two, three or even four times the cost of a P2.5 wall of the same relative size.
I’ve been around this game for a while, and I know we operate in a competitive landscape. It is sometimes tempting or even necessary to fit the solution into the budget. However, with DVLED walls, the repercussions of selecting a pixel pitch that is too large to fit into a customer’s budget could be dire. So, take heed. Or better yet, call me, and make sure you select the right pixel pitch the first time.
That’s all for now. Stay tuned for my next installment of Breaking Down DVLED:
Part 4: The First Step in Installing a DVLED Video Wall is Admitting you Need Help
Topic: Commissioning Assistance and why it’s important
Part 5: First Things First
Topic: The importance of proper site prep and conducting a proper site survey
Check out my other installments if you haven’t already:
Part 1: Got Spares?
Topic: The importance of having spares when purchasing / commissioning a DVLED video wall.
Part 2: Cabinets and Modules and Panels, Oh My!!!
Topic: The anatomy of a DVLED video wall.