Breaking Down DVLED part 4 – The 1st Step in Installing a DVLED Video Wall is admitting you need help
Part 4: The First Step in Installing a DVLED Video Wall is Admitting You Need Help
Topic: Commissioning Assistance and Why it’s Important.
 I’m one of those people who always says “no” to any extras when I make a big purchase. I sometimes feel bad for the finance guy at the car dealership, because I know from the onset that he isn’t going to sell me on a single extra service or add-on. It’s a painful ten minutes of me smiling and saying, “That sounds great! No thank you.” If there was a poster child for the adage, “Men never ask for directions,” I’d be it. To be honest, I just feel like I’m capable and I can figure things out for myself. Admittedly, this approach has rendered mixed results at best…
 This brings me to the topic of this edition of Breaking Down DVLED, The First Step in Installing a DVLED Video Wall is Admitting you Need Help!
If you have been selling DVLED for any length of time, you will be sure to have noticed that vendors are often rigid with their installation requirements. Some require the integrator to complete a certification course, usually onsite and over the course of a couple of days, in order to sell their product. Some even require that their service technicians commission the entire project. At minimum, most vendors require that one of their service technicians or a certified individual be onsite to assist and oversee the installation. This is generally an additional paid service, but there are some instances where the service is included. Finally, a few vendors will waive the requirement to have a branded or certified technician onsite, but will require that an add-on insurance-type fee be paid to cover any damage during installation by the integrator.
To many integrators, all the above can seem unpalatable. My goal here is to educate you on why this type of hands-on service is not only necessary, but more importantly, a critical component to ensuring the project is completed in the most cost-efficient manner. It really just boils down to the concept of, “Time is Money.”

First, let’s clarify what onsite service includes. In most cases, there are two types of service offered for DVLED installation, “guided” and “full service.” Full service is self-explanatory, a full crew handles all aspects of the installation and commissioning of the wall. Service like this can be obtained by working with Exertis Almo Services or, in limited cases, the vendor. Guided, onsite installation support, like what is offered by brands such as Absen and others, consists of a single technician coming onsite to lead the integration. This individual will typically be hands-on in all aspects of the labor side, and perform any necessary programing, setup, and training for the integrators team and the end user. This service guarantees that the job will be completed on-time, and that any potential snags are dealt with expediently. Having a branded technician assist with the installation also provides liability protection to the integrator in the event of any mishaps or product damage that occurs during the project under the umbrella of warranty coverage.
So how does this relate to “Time is Money?” In almost all cases, when having a designated vendor technician onsite, you do not have to expend any of your own human capital on line-items, such as labor or programming. Additionally, an onsite vendor tech will cut hours if not days from the installation time, and the end-user will have a great experience in terms of product training and support from the vendor. This reflects positively on the integrator, thereby promoting repeat business. Finally, a vendor technician will ensure that everything is tested before leaving the job to avoid any unnecessary returns to the jobsite to address anything that was potentially missed during the installation process.
All these benefits, taken together, equate to a world-class level of service, a better customer experience, and fewer headaches—that always cost money—down the road. It is important to remember that a DVLED wall has exponentially more components than a traditional LCD wall and it is far easier to damage LED modules than a prebuilt LCD display. DVLED is also a relatively new technology and most integrators have not yet established the learning curve benefits that come with repeated commissioning. By having a trained and qualified vendor onsite, the integrators team essentially receives free, hands-on training that can be applied to future projects.

In summary, whether you are a consummate skeptic like me and always say “no” to offers for additional assistance or are simply someone who is confident in their abilities based on experience, the benefits of accepting qualified help for DVLED installations is not only necessary, but essential to maximizing your bottom line.
That’s all for now. Stay tuned for my next installment of Breaking Down DVLED:
Part 5: First Things First
Topic: The importance of proper site prep and conducting a proper site survey
Check out my other installments if you haven’t already:
Part 1: Got Spares?
Topic: The importance of having spares when purchasing / commissioning a DVLED video wall.
Part 2: Cabinets and Modules and Panels, Oh My!!!
Topic: The anatomy of a DVLED video wall.
Part 3: Perfect Pitch
Topic: The importance of selecting the right pixel pitch the first time



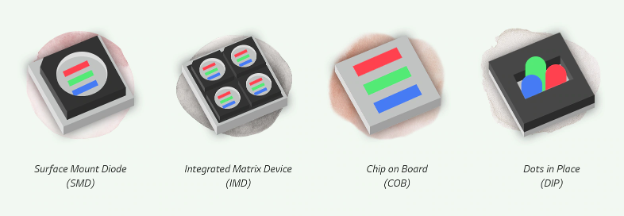
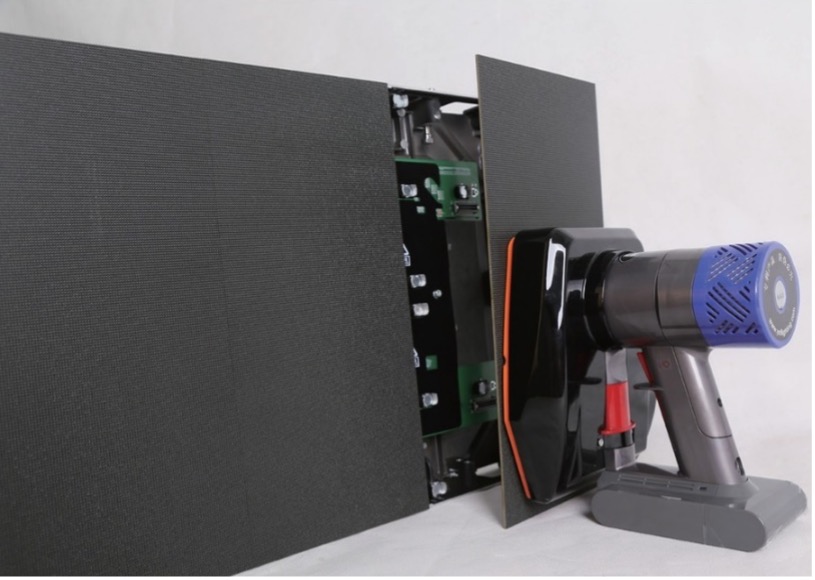
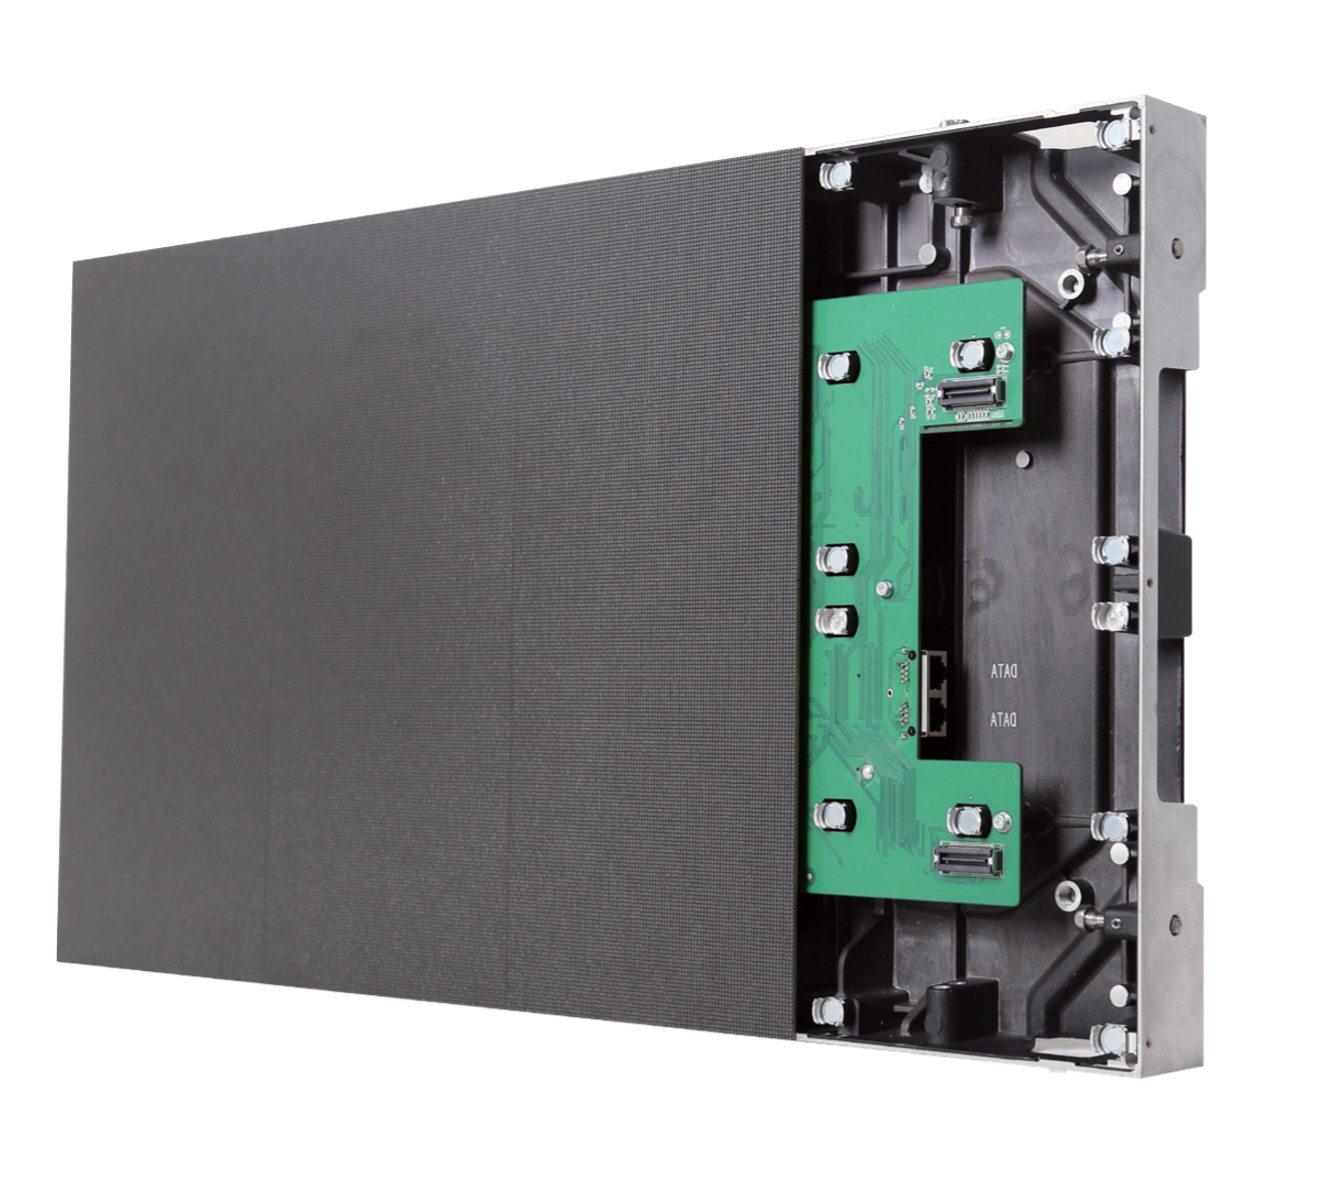
 The cabinet is the square or rectangular chassis that houses the electronics and provides structure to the wall. Each panel (modules + cabinet) is like a big, expensive Lego. The cabinet is the base-plate and the modules are the bricks. They can be linked together to form any size or shape. Just add your imagination and some modern video scaling technology.