Pro Audio Trends 2025: The Good, The Smart, and The Acoustically Ugly
As we continue to barrel through 2025 (how is it the middle of August already?!?), I wanted to take a second to look at some of the trends that are shaping pro audio in our current landscape. We are seeing a steady march of technological breakthroughs – particularly in the conferencing space – which make our lives as audio professionals easier and our solutions more effective. However, as they say – physics is physics – and the spaces in which we are having to implement these solutions are making our success harder and harder to come by.
Let’s take a look at the pro audio landscape in 2025 – the good and the not-so-good.
All 1s and 0s – Networked Audio
In my opinion, we can declare the networked audio wars over, and Dante has emerged the victor (for better or for worse). Although many networked audio protocols still exist and see limited, niche use (AVB, I’m looking in your direction…), Dante now sees the most widespread use and adoption across the pro audio industry. Dante has become so popular and inexpensive that we are now seeing it at almost every price point – from budget mixers to entry-level speakers, and even some in the consumer audio world.
Networked audio is such a revolution that it deserves its own blog post, but put simply, it maximizes installation convenience and flexibility by routing all audio channels through a digital, networked backbone of Cat cables and network switches. For example, an event that used to require 32 individual input cables run from the front to the back of the room can now be handled by one Cat6 cable.
Not only is networked audio convenient, but it is also incredibly flexible. Routing one input to multiple outputs can now be done with a few mouse clicks. Changes can be made on the fly without even having to touch a physical cable.
Will Dante be the ultimate networked audio solution into the future? Due to its channel count limitations, likely not. But for now, its ease of use, flexibility, widespread adoption, and low cost, Dante is the go-to solution for 2025 and at least the next few years.
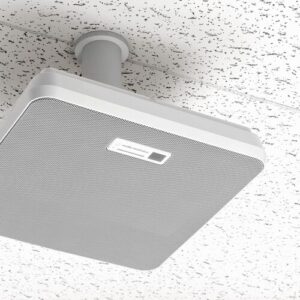 Ceiling and Wall Microphone Arrays
We all work in the conferencing space extensively these days, and most of these spaces have the same needs: effective and professional-sounding audio which is as aesthetically unobtrusive as possible. Into this breech have stepped most of the major audio manufacturers – Shure, Yamaha, Sennheiser, Audio-Technica – with ceiling- or wall-mounted beamforming array microphones.
The amount of choices here is dizzying, but the technology in all of them is similar. They use sophisticated beamforming algorithms to isolate individual speakers, suppress background noise, and automatically adjust pickup patterns based on who is talking. Typically these are mounted on the ceiling, which eliminates the paper-shuffling noise of a table microphone, and the inconvenience and limited durability of gooseneck microphones.
Are beamforming microphones the correct solution for all conference rooms? Of course not. Most are limited to a maximum 25’x25’ coverage area, and audio at the edges of these coverage zones can sound thin. Locating microphones as close as possible to the speaker is always best practice, and some room configurations may not lend themselves to a ceiling mic array. Beamforming mics can also tend to be on the expensive side, so some situations may be better served by a more traditional solution.
The Challenge: Did Architects Forget About Sound?
 Finally, for the trend that is assuredly NOT one that I hope sticks around, is the continued assault on acoustics that is modern conference room design. The aesthetics of modern conference room design seem to be engineered to be in direct opposition to what makes a room sound good.
Take a look at pretty much any conference room designed in the last 5-8 years: floor-to-ceiling glass walls and polished concrete floors that reflect every minute sound, exposed HVAC duct work that creates a continuous low-frequency rumble, open, cavernous ceiling spaces – it’s a miracle that we can hear anything intelligible in these spaces.
Although current mic and DSP technology can work miracles to overcome some of these challenges, the frustrating part of this is that with proper acoustic design choices, we wouldn’t need as many of these work-arounds. We are spending thousands of dollars on sophisticated signal processing to compensate for poor design choices.
These trends tend to come and go, so my fingers are firmly crossed that the open-ceiling, glass wall, concrete floor trends of this era go away – and quickly!
Wrapping Up
The professional audio industry has always been about solving problems and making communication clearer. We are seeing the promise of networked audio and advanced processing in action on a daily basis to make projects successful.
The future of pro audio is networked, intelligent, and unfortunately, still dealing with some questionable architectural choices.
If you need help finding the right technology for your next project, or have a difficult audio problem that needs solving, reach out to the audio team at Almo ProAV at [email protected]!

About the Author
John Rossman | CTS
BDM II – Technical Specialist
Supported Manufacturers: Harman Professional – AKG, AMX, BSS, Crown, DBX, JBL, Lexicon, Martin, & Soundcraft

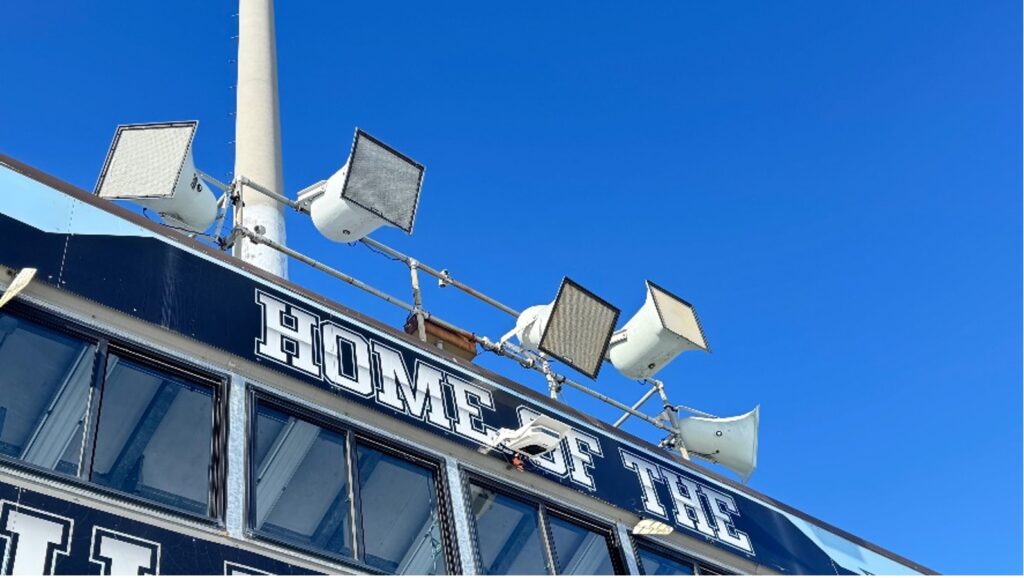
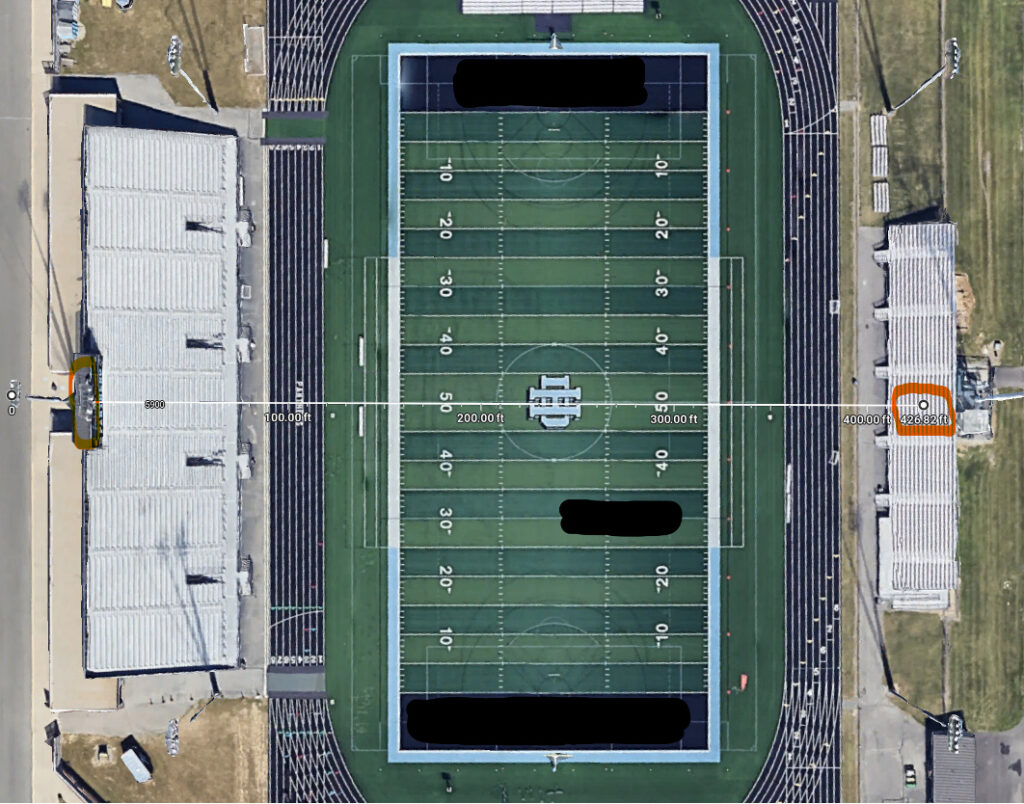
 After explaining the limitations of the project, Dave surprised me when he stated that JBL’s
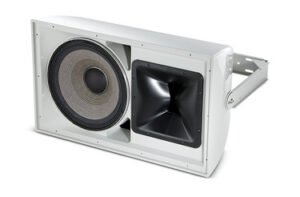
 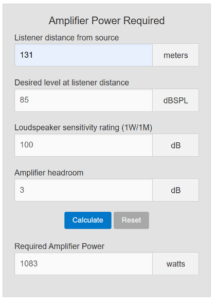 Finally, something we could work with! We settled on the Crown DCi 2×1250 to power (2) JBL AW566 loudspeakers mounted above the press box to provide sound to the visitors’ side. The home side situation was much easier to solve for – it simply required selecting speakers with the appropriate coverage patterns. Those turned out to be (3) JBL AWC82 speakers, powered by a Crown DCi 4×600. We also recommended relocating the home side speakers so that they would no longer be in the acoustic shadow of the press box roof, as the previous Community speakers were.
 Below is the front and rear of a
 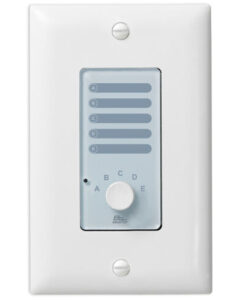 As mentioned above, there are not any controls or buttons on the front panel. Instead, DSPs are generally controlled by external control systems, such as AMX, Kramer, or Atlona. Users interact with a custom touch panel to send control signals such as channel mute, volume control, input/output routing and mixing, gating, and more! In simpler systems, BSS DSPs can also be controlled by a simple button/volume knob control panel, such as the
 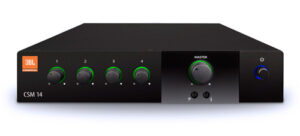 Of course, a DSP is not a fit for every situation. For example, most live performances (musical or otherwise) are better suited to being controlled by a real live person in front of a mixer who can respond in real time to the action on stage. Additionally, smaller, less complex systems (such as in a bar, restaurant, or retail store) which do not require advanced routing or signal control might be better suited to use a rack-mounted mixer (such as the
  From there we were greeted with a personalized surprise – the huge Samsung video wall in the lobby had been customized to welcome the Exertis Almo team to the Experience Center!
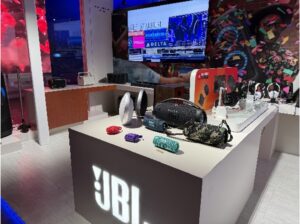 Soundcraft mixer so that you could easily switch between the different models – a very enlightening experience for a mic nerd like myself!
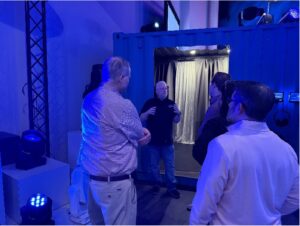 But all of this was just an introduction to the main hall, where JBL loudspeakers, Crown amplifiers, BSS and dbx signal processors, AMX control and video products, and Martin lighting were on full display. Harman has put a lot of effort into this room, and they make it easy to demo, see, and A/B their installed product lineups. Tewks led us though the experience, explaining the differences between the various Crown amplifier series, discussing and demoing the multitude of JBL ceiling and wall-mounted loudspeakers and explaining fun stuff like speaker waveguides.
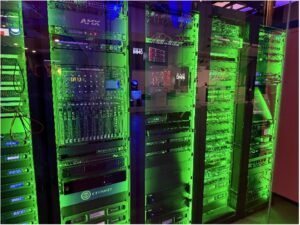
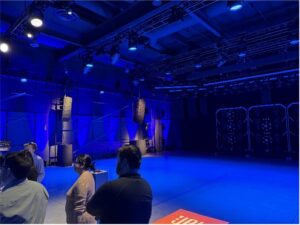 On the other wall, at a relatively safe distance, were JBL’s line array speakers flown from the ceiling. The SRX, VRX, and VTX-series line array speakers are JBL’s flagship offerings for large venues, and its not everyday you get to hear this level of performance in a private setting. The folks at Harman very cleverly configured the line array demo to start at the push of a big red button – our own Brent Dowler got to do the honors. After the button was pushed, the lights went down and the show started.
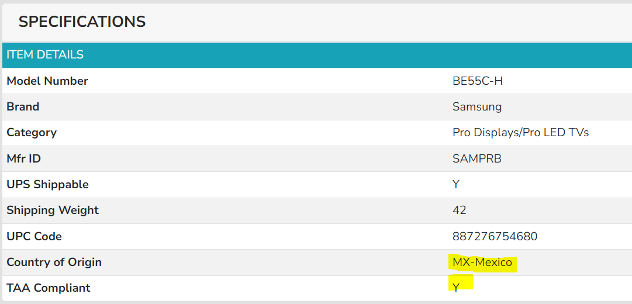
 The Trade Agreements Act (TAA) was enacted to encourage fair and open international trade, but in practice it has implemented the requirement that the US government may only acquire US- or “designated end country”-made end products.
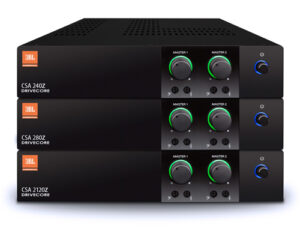
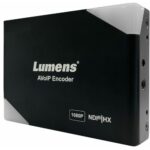 AV OVER IP ENCODERS/DECODERS
 CABLES
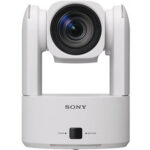 CAMERAS
 CONFERENCING
 CONTROL
 AMX
AMX  Atlas
Atlas  MOUNTS
 DIGITAL SIGNAGE
 AMX
AMX 


